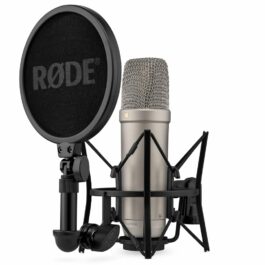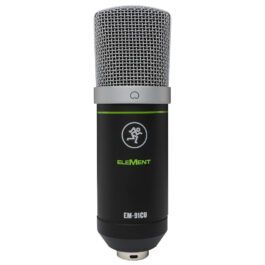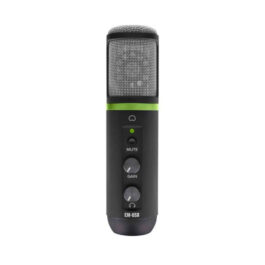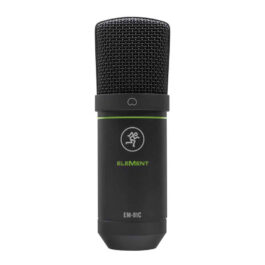
So you’ve decided you need a studio mic, or you’ve already got one; and you’re looking for a crash course on how to use it to its full capacity, or what features may be important to you and your specific needs.
Terms like proximity effect, dB pads, frequency response, polar patterns, and phantom power can be confusing or even intimidating at first, but that’s where we come in. Today we’re going to break down these terms and arm you with some basic knowledge to get the most out of your studio mic.
Phantom Power
Let’s start with the most fundamental part of getting your condenser mic going; phantom power.
As we mentioned in our Dynamic vs Condenser Microphone comparison, the most common studio microphone is a large diaphragm Condenser Microphone. This is thanks to their high sensitivity.
A result of the active circuitry found in condenser microphones is the need for an external power source. This is provided by transmitting DC electric power through the standard XLR (microphone cable). This is called phantom power.
Where does it come from? – Most audio interfaces and mixing consoles will have a Phantom Power switch on one or more of their channels. Once the microphone is plugged in, simply flip the Phantom switch on the channel you have the mic plugged into, and you’re good to go.
Note: Be sure not to turn Phantom on a channel that doesn’t require it, as it could, in certain circumstances, cause damage.
Polar Patterns
Put simply, polar patterns describe how much signal the microphone will pick up from different directions. It may be easier to think of as a pickup pattern. Ie: the highlighted area around the microphone will be picked up and accentuated, while the rest will be rejected.
So how do you read the polar pattern diagram? – The polar pattern diagram is made up of a 360° circle around the microphone, with the front of the mic being at 0°, which will also be the microphones area of maximum sensitivity. Each inner circle represents a 5dB decrease in sensitivity.
Taking a look at this example of a cardioid condenser, directly on axis, in front of the microphone, we have the highest sensitivity. While if we look at 90° or 270° off-axis, we can see a more than 5dB decrease in sensitivity. Looking at the very back of the microphone, at 180°, we see almost total rejection of sound. This means the microphone won’t pick up any audio coming from that source.
Note: It is important to remember that sound travels rapidly around any given space, and will bounce of walls and return to the mic at different angles, so most microphones will still pick up audio, albeit quieter, from sources within its rejection zones.
Many studio condenser microphones have switchable polar patterns to allow you to repurpose your microphone for every scenario. When selecting the mic for you, this is an important feature to look out for!
Here are some common polar patterns.

Proximity Effect
One of the most fundamental aspects of using a microphone while recording is microphone placement. Having your microphone in a good position relative to your sound source, be it a singer, guitar amp, or drum kit, is imperative.
The most important element to take into account in this is the proximity effect. Put simply, this is a phenomenon that leads to an increase in low frequency the closer your microphone is to your sound source.
This can be used to your advantage in many cases, allowing you to add low end to otherwise thin vocals. The other side of this is, of course, the potential for a “boomy”, unpleasant low end does exist. For this reason, the proximity effect is something important to take into account and experiment with.
Attenuation and Filters

Attenuation:
Attenuation pads (as seen on the left of the above image) are often found on studio microphones. These offer the option to lower the output level of the microphone by the amount shown. (ie: -10dB, or -20dB). This can be an incredibly useful tool when recording sound sources that are particularly loud and causing the microphone to clip or distort.
Filter:
Filters (seen on the right of the above image) offer the ability to cut certain frequencies from the output of the microphone. For example, if there is a large amount of low frequency in your signal that you would like to cut out and not pick up, a HPF (High Pass filter), as seen above, can be used to cut this low frequency, and as it’s name states, let the high frequencies pass through.
Wrapping Up
Recording microphones can seem complicated and intimidating to work with at first, but learning to understand some of the basic concepts we’ve gone over in this article, and then of course, experimenting and letting yourself make mistakes and learn will have you executing professional recordings in no time.
Browse our Studio Microphones
-
Request Stock
- Out of Stock
- Recording Microphones, Studio & Recording
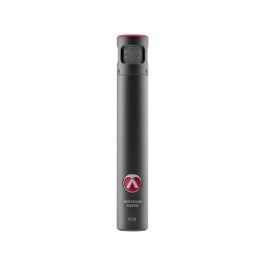
Austrian Audio CC8 Cardioid True Condenser Microphone
-
R10,255R8,195FREE DELIVERY - Select options
-
-
Request Stock
- Out of Stock
- Content Creation, Microphones for Podcasting, Recording Microphones, Studio & Recording
Mackie EM-91CU EleMent Series USB Condenser Microphone
-
R1,295R740FREE DELIVERY - Select options
-


