-
Birthday Sale Deal!
-
Birthday Sale Deal!
-
Birthday Sale Deal!
-
Birthday Sale Deal!
-
Birthday Sale Deal!
-
Birthday Sale Deal!

-
Birthday Sale Deal!
-
Birthday Sale Deal!
-
Birthday Sale Deal!
-
Birthday Sale Deal!
-
Birthday Sale Deal!
-
Birthday Sale Deal!
-
Birthday Sale Deal!
-
Birthday Sale Deal!
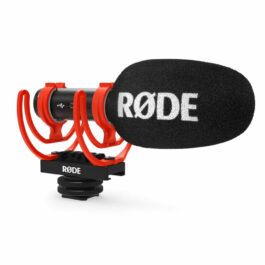
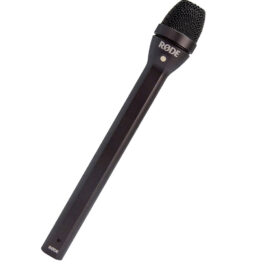
- Recording Microphones, Content Creation, Microphones for Video
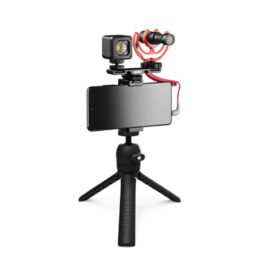
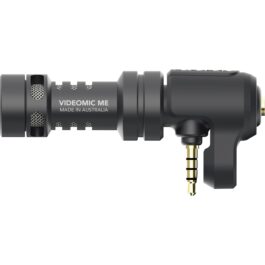
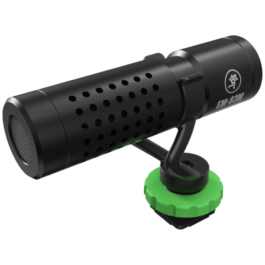
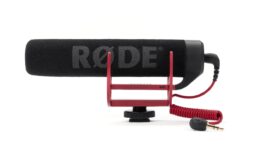
Rode VideoMic Go Microphone
- R1,690FREE DELIVERY
- Select options
-
Birthday Sale Deal!
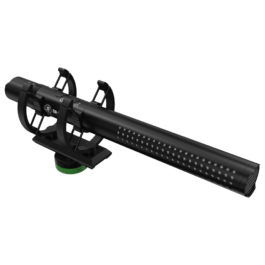
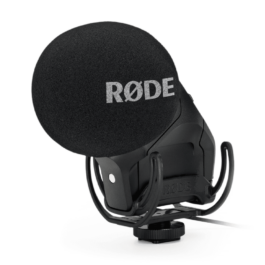
- Studio & Recording, Recording Microphones
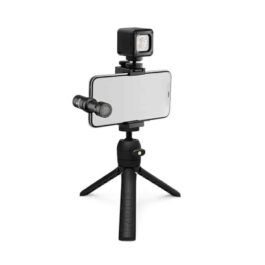
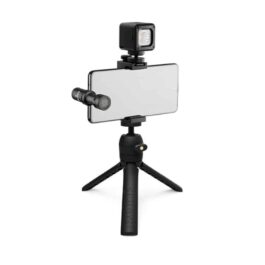
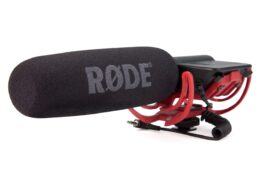
Rode VideoMic – with Rycote Suspension
- R3,090FREE DELIVERY
- Select options
-
Birthday Sale Deal!
-
Birthday Sale Deal!
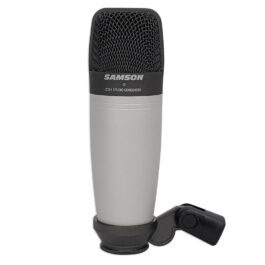
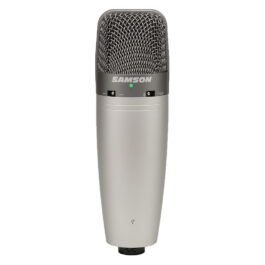
- Studio & Recording, Recording Microphones
Samson C01 Condenser Microphone
- R1,549FREE DELIVERY
- Select options
-
Birthday Sale Deal!
-
Birthday Sale Deal!
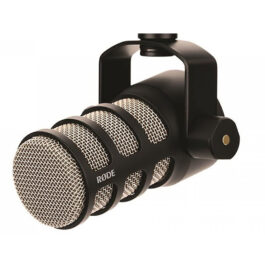
- Recording Microphones, Studio & Recording
Samson C03 Condenser Microphone
- R2,075FREE DELIVERY
- Select options
-
Birthday Sale Deal!
-
Birthday Sale Deal!
-
Birthday Sale Deal!
-
Birthday Sale Deal!

-
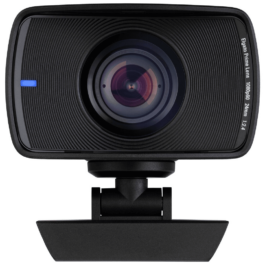
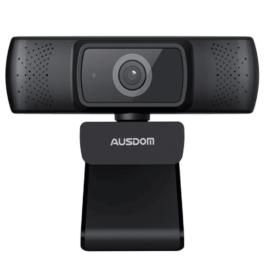
- Content Creation, Video, Video Cameras
Elgato Facecam Full HD Streaming Web Camera
- R3,799FREE DELIVERY
- Select options
-
Online Only Deal
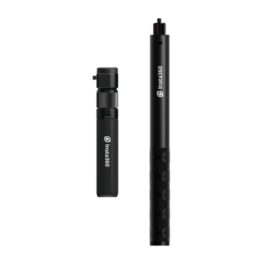
- Content Creation, Video, Video Cameras
Insta360 Bullet Time Accessory Bundle
- R2,140FREE DELIVERY
- Select options
-
Online Only Deal
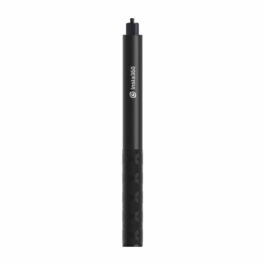
- Content Creation, Video, Video Cameras
Insta360 Invisible Selfie Stick – 120cm
- R1,200FREE DELIVERY
- Select options
-
Online Only Deal
- Content Creation, Video, Video Cameras
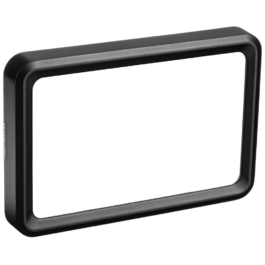
Insta360 One R Vertical Bumper Case – Add on Unit
- R1,499FREE DELIVERY
- Select options
-
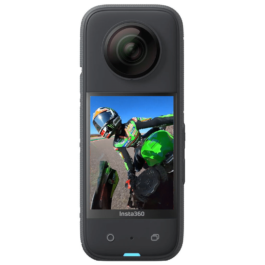
- Content Creation, Video, Video Cameras
Insta360 X3 360° Camera
- R14,595FREE DELIVERY
- Select options
-
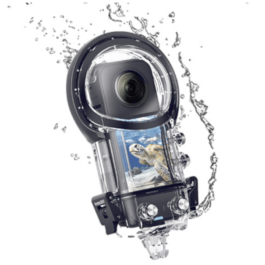
- Content Creation, Video, Video Cameras
Insta360 Dive Case for X3 Camera
- R2,495FREE DELIVERY
- Select options
-
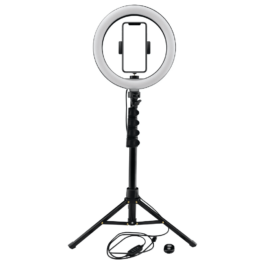
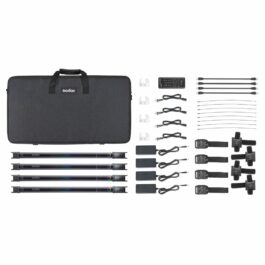
- Content Creation, Lighting Equipment
Godox ES45 E-Sport LED Light Kit
- R2,895FREE DELIVERY
- Select options
-
Birthday Sale Deal!
-
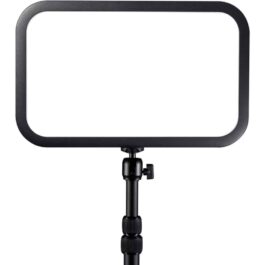
- Content Creation, Lighting Equipment
Elgato Key Light Air
- R4,095FREE DELIVERY
- Select options
-
Birthday Sale Deal!
-
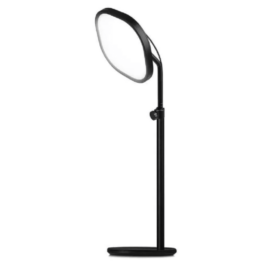
- Content Creation, Lighting Equipment
Elgato Key Light Mini
- R2,229FREE DELIVERY
- Select options

-
-
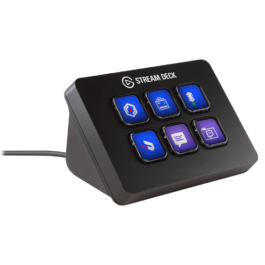
- Content Creation, Live Streaming Equipment
Elgato Stream Deck Mini
- R2,029FREE DELIVERY
- Select options
-
Birthday Sale Deal!
-
-