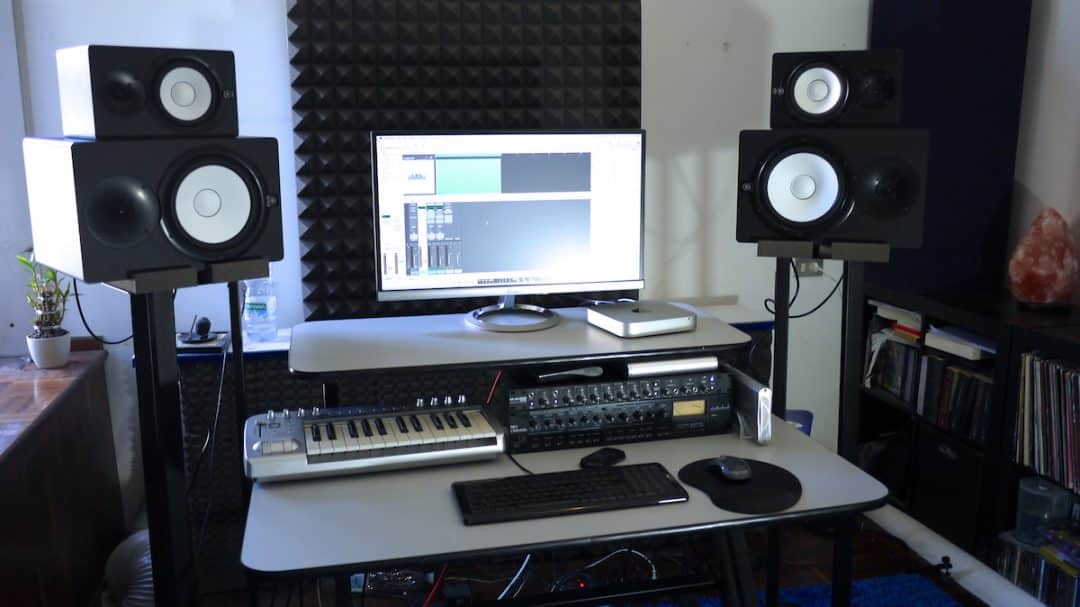
Home Recording Buyers Guide
You’ve been playing and writing songs for a while, and you’ve decided that now is the time to start sharing your music with the world.
-
Birthday Sale Deal!
-
Birthday Sale Deal!
-
- Out of Stock
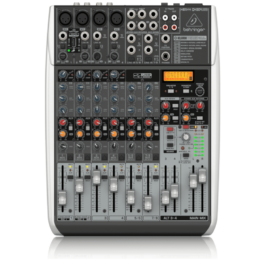
- Live Sound, Mixers, Studio & Recording, Studio Mixing Desks
Behringer Xenyx QX1204USB Mixer with USB and Effects
- R4,920FREE DELIVERY
- Select options
-
-
- Out of Stock
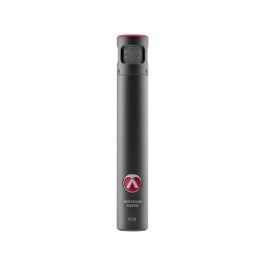
- Recording Microphones, Studio & Recording
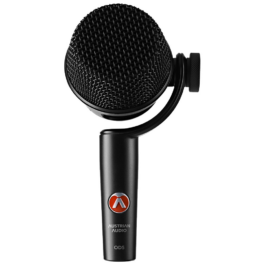
Austrian Audio CC8 Cardioid True Condenser Microphone
- R8,195FREE DELIVERY
- Select options
-
-
- Out of Stock
- Live Sound, Mixers, Studio & Recording, Studio Mixing Desks
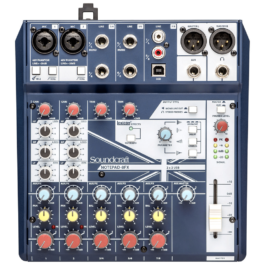
Soundcraft Notepad-8FX Small-Format Analog Mixing Console with USB I/O and Lexicon Effects
- R3,005FREE DELIVERY
- Select options
-
-
Birthday Sale Deal!
-
- Out of Stock
- DJ & Beat Production, Keys & Pianos, MIDI Controllers, MIDI Keyboard Controllers, Studio & Recording, Studio Controllers
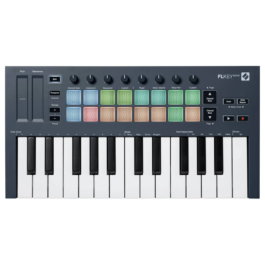
Novation FLkey Mini USB MIDI Keyboard Controller
- R2,195FREE DELIVERY
- Select options
-
-
Birthday Sale Deal!