
-
Birthday Sale Deal!
- Live Sound, Microphones
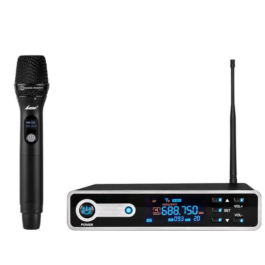
Lane LR-661 Single Wireless Mic System
- R2,295FREE DELIVERY
- Select options
-
Birthday Sale Deal!
-
- Out of Stock
- Live Sound, Microphones
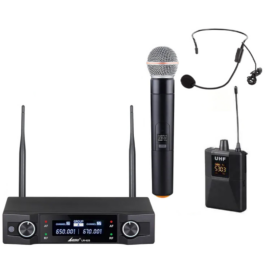
Lane LR-616 Dual Handheld Wireless Microphone Set
- R2,375FREE DELIVERY
- Select options
-
-
Birthday Sale Deal!
- Live Sound, Microphones
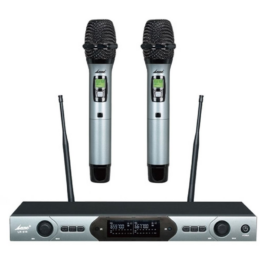
Lane A380 Dual Handheld Wireless Microphone System
- R1,725FREE DELIVERY
- Select options
-
- Out of Stock
- Live Sound, Microphones
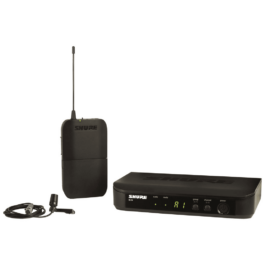
Shure BLX14/CVL-K14 Wireless Cardioid Lavalier Microphone System
- R9,145FREE DELIVERY
- Select options
-
-
- Out of Stock
- Live Sound, Microphones
Shure BLX24E/SM58-Q25 Wireless Microphone System
- R10,350FREE DELIVERY
- Select options
-
-
Birthday Sale Deal!
- Live Sound, Microphones
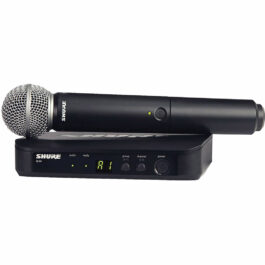
Shure BLX24E/SM58-M17 Wireless Microphone System
- R9,660FREE DELIVERY
- Select options
-
- Out of Stock
- Live Sound, Microphones
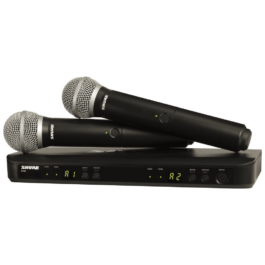
Shure BLX288/PG58-Q25 Dual-Channel Wireless Handheld Microphone System
- R15,765FREE DELIVERY
- Select options
-
-
Birthday Sale Deal!
- Live Sound, Microphones
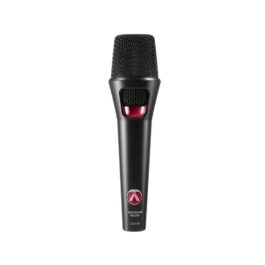
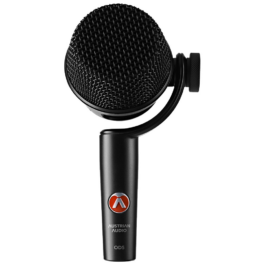
Austrian Audio OD505 Active Dynamic Vocal Microphone
- R6,200FREE DELIVERY
- Select options
-
Birthday Sale Deal!
-
Birthday Sale Deal!
- Live Sound, Microphones
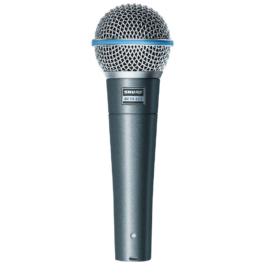
Shure Beta 58A Supercardioid Dynamic Vocal Microphone
- R4,295FREE DELIVERY
- Select options
-
Birthday Sale Deal!