-
- Out of Stock
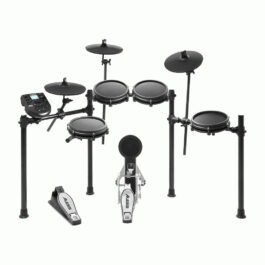
- Drums & Percussion, Electronic Drums
Alesis Nitro Mesh – Electronic Drum Kit
- R7,899FREE DELIVERY
- Select options
-
-
Birthday Sale Deal!
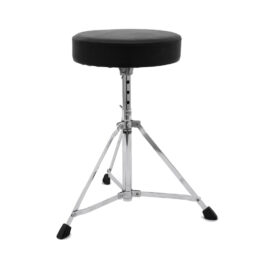
- Drums & Percussion, Drum Hardware
Mapex T200 Drum Throne
- R720FREE DELIVERY
- Select options
-
-
Birthday Sale Deal!
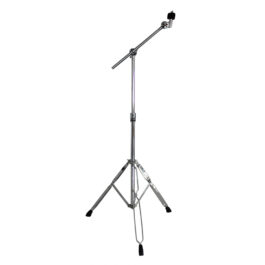
- Drums & Percussion, Drum Hardware
Mapex B200A Cymbal Boom Stand
- R825FREE DELIVERY
- Select options
-
- Out of Stock
- Drums & Percussion, Electronic Drums
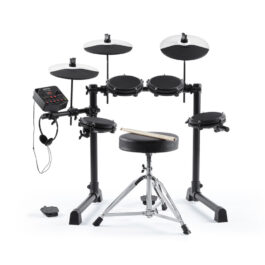
Alesis Debut Kit – Electronic Drum Kit
- R4,899FREE DELIVERY
- Select options
-
-
Birthday Sale Deal!
- Drums & Percussion, Drum Accessories
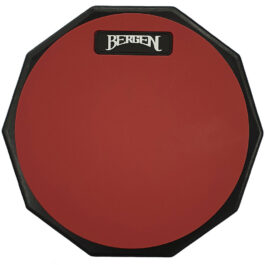
Bergen PD-08 8″ Practice Pad
- R520FREE DELIVERY
- Select options
-
Birthday Sale Deal!
-
- Out of Stock
- Drums & Percussion, Percussion
Dunlop 9102 Gel Eggshaker
- R55
- Select options
-
-
Birthday Sale Deal!
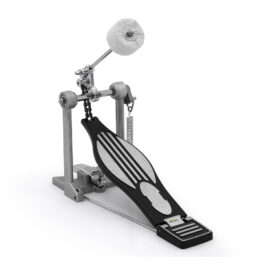
- Drums & Percussion, Drum Hardware
Mapex P200A Bass Drum Pedal
- R660FREE DELIVERY
- Select options
-
- Out of Stock
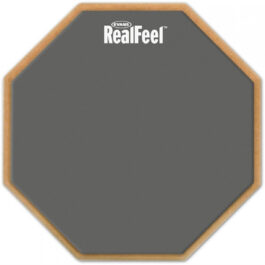
- Drums & Percussion, Drum Accessories, Drum Heads
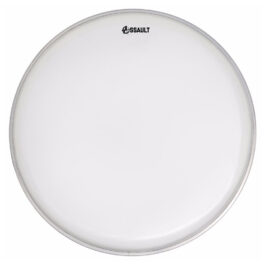
Evans Real Feel 12″ Speed Pad Drum Practice Pad
- R900FREE DELIVERY
- Select options
-
-
Birthday Sale Deal!
-
Birthday Sale Deal!